Welcome to our first lesson! Before diving into game development, let’s get everything set up and understand some basic concepts. Don’t worry if things seem overwhelming at first - we’ll take it step by step.
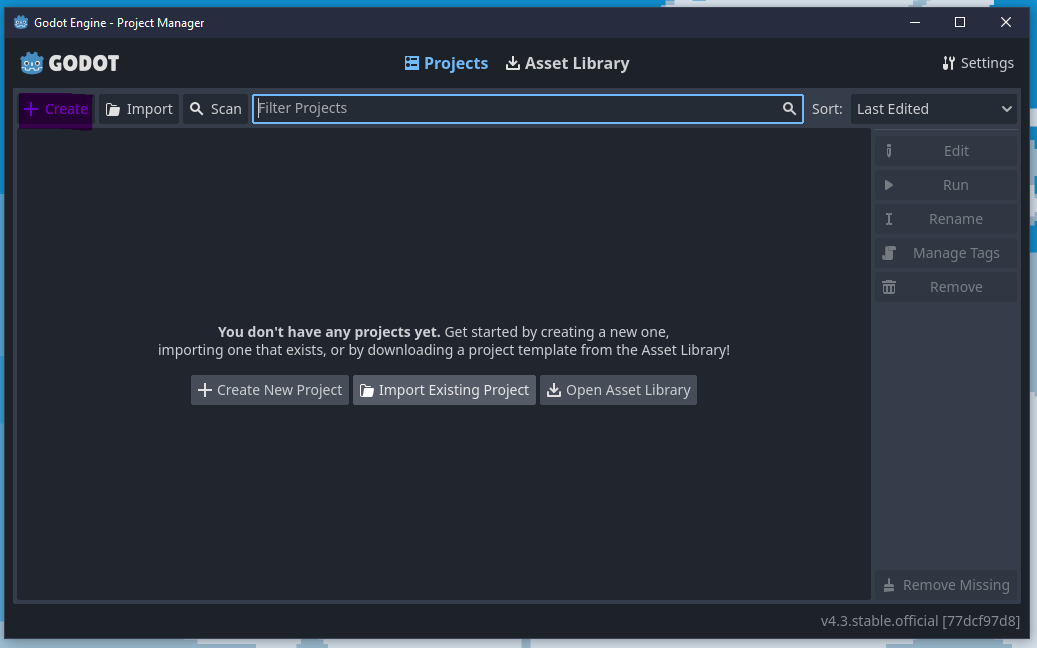
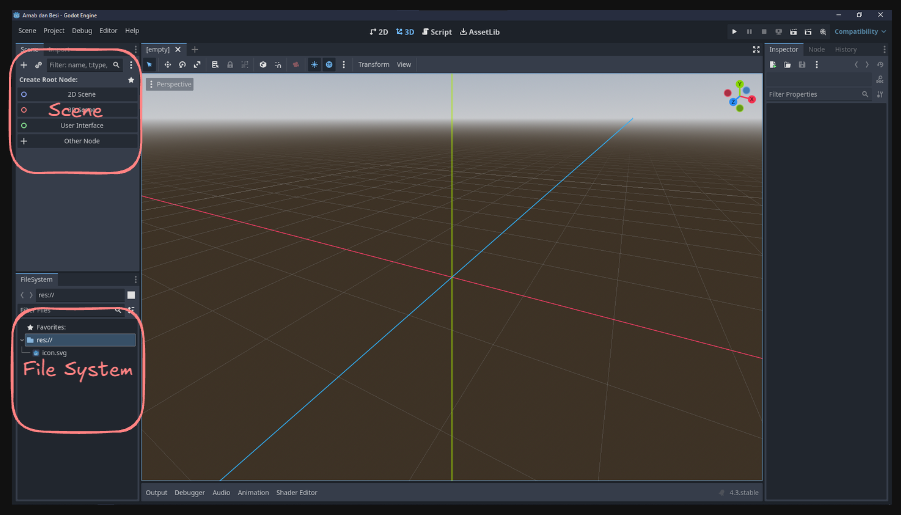
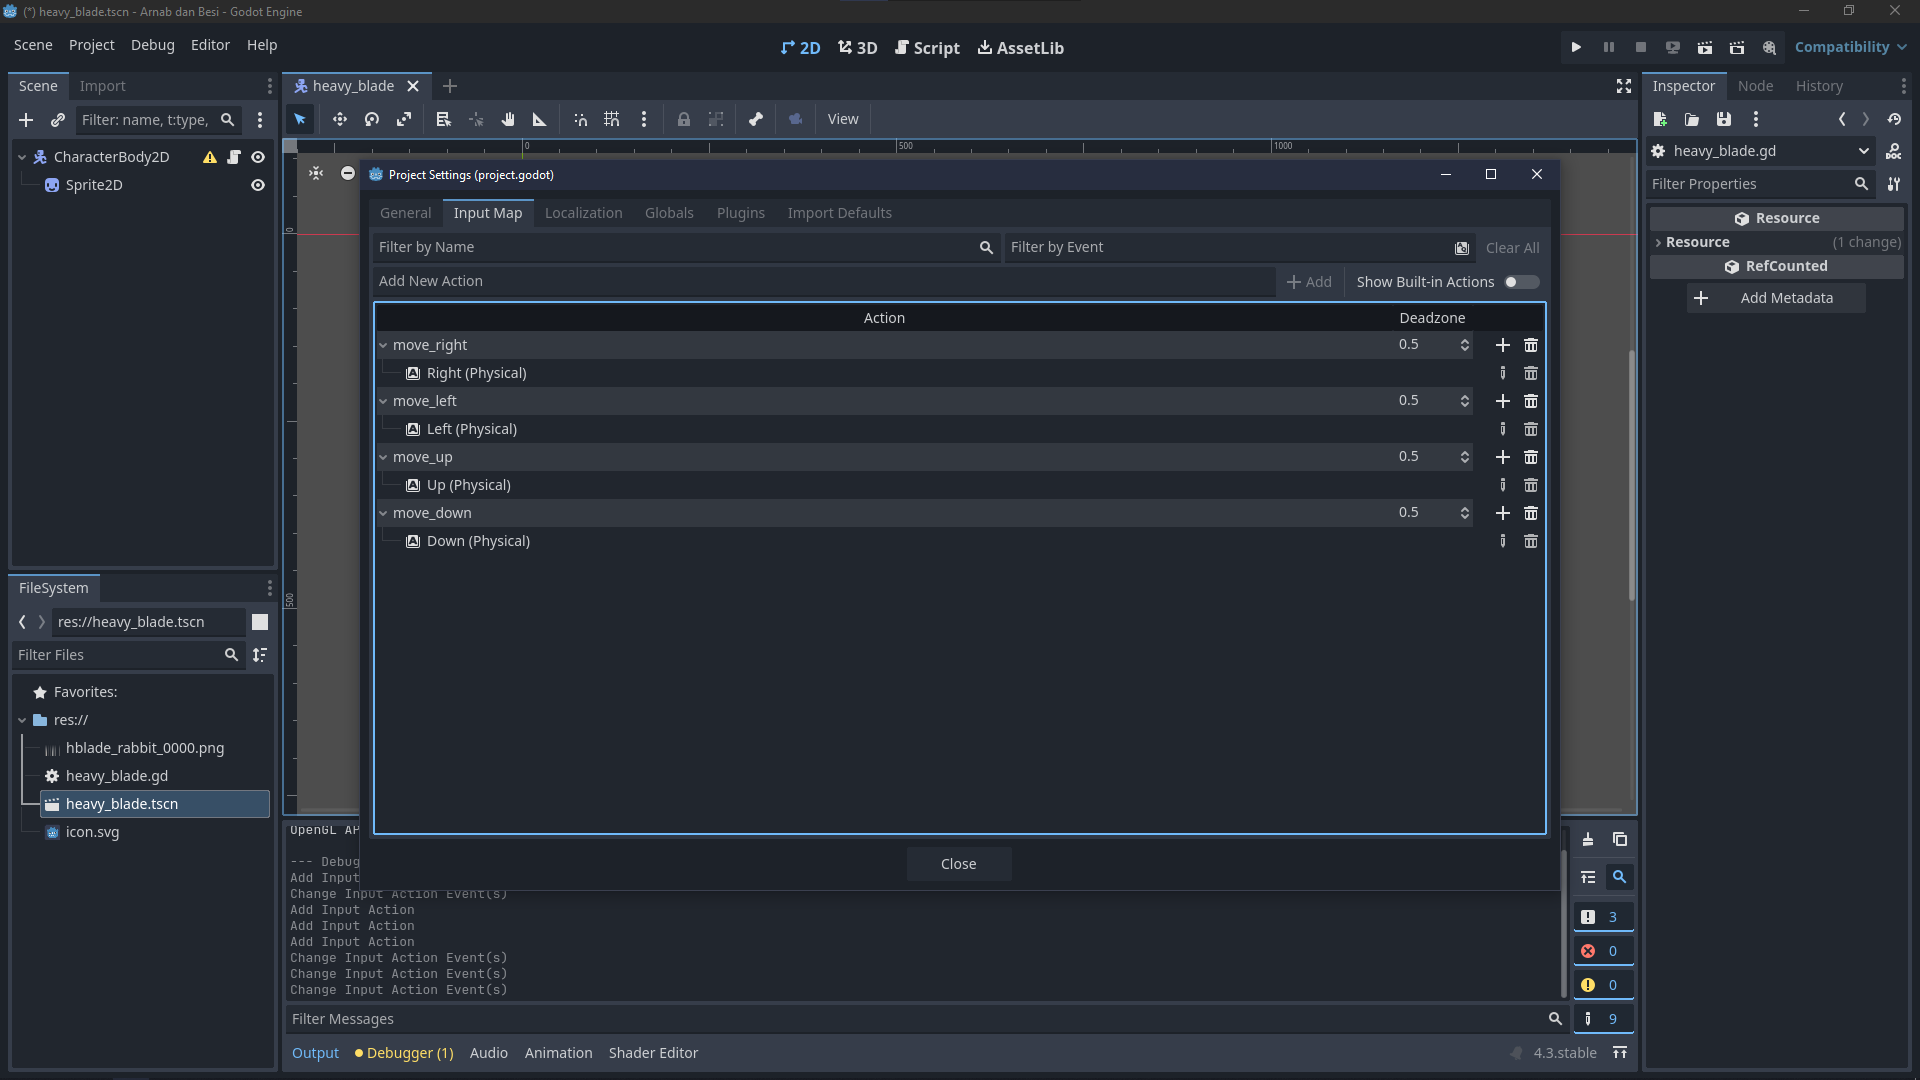
When you first open the Godot editor, you’ll see several panels. Don’t worry - it’s simpler than it looks tho ngl. Here are the key areas you need to know:
Left Panel: This is where you’ll find two important tabs:
Scene tab: Shows your scene hierarchy (we’ll explain scenes/nodes soon)
FileSystem tab: Shows your project files and folders
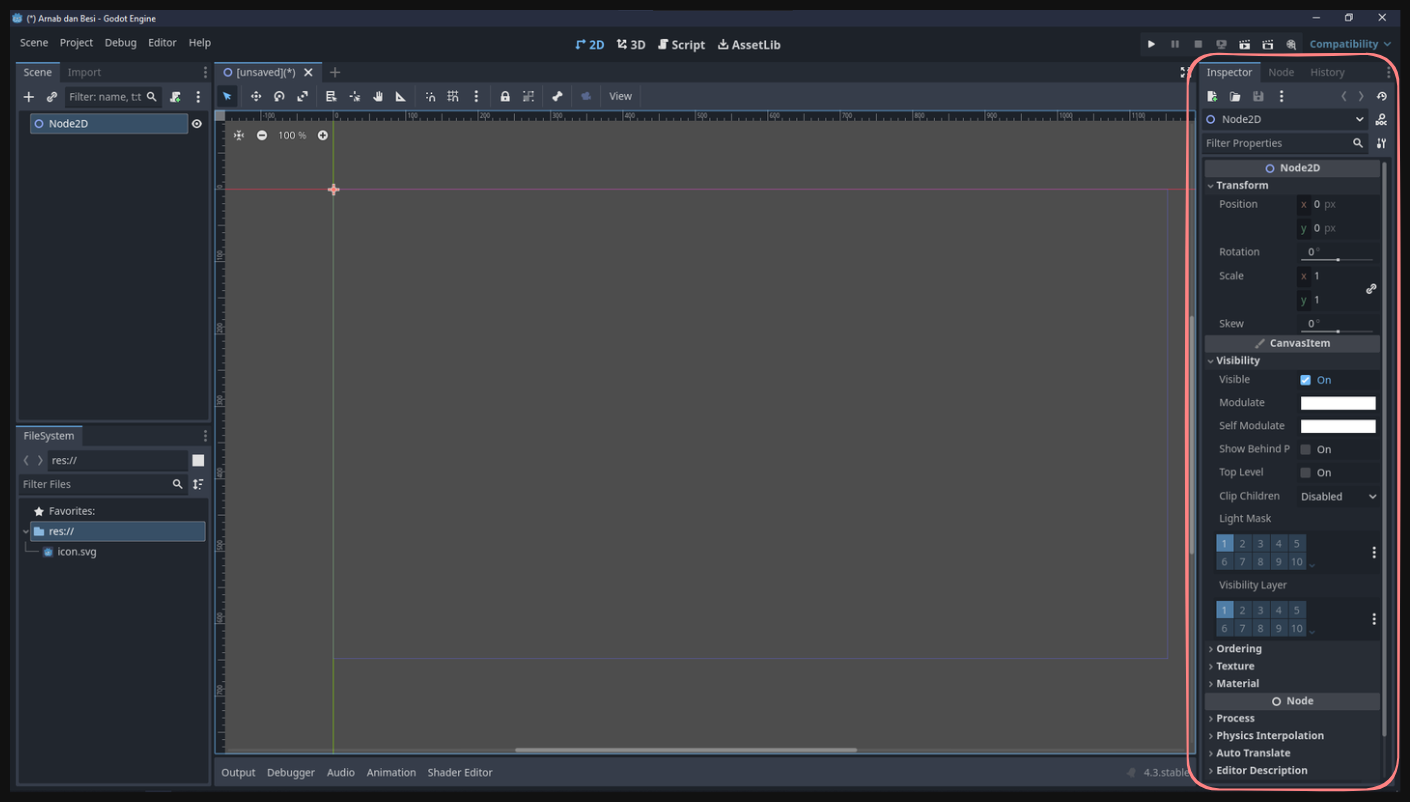
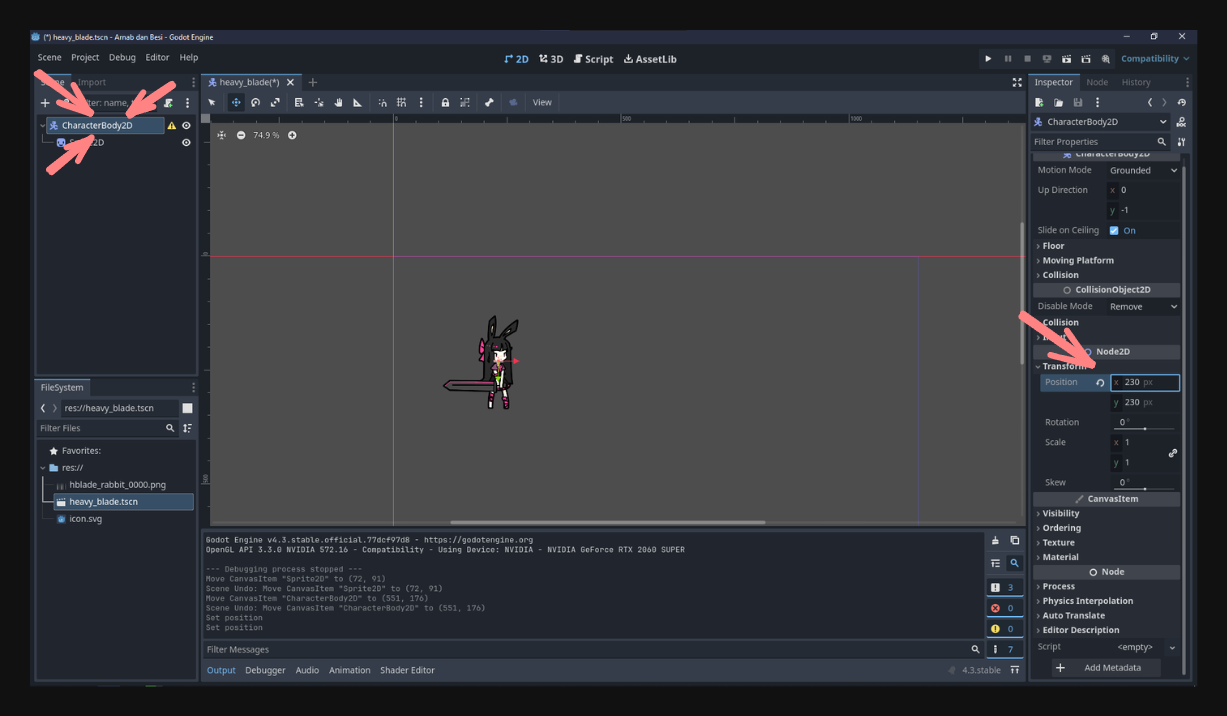
Right Panel: This shows the properties of whatever node you have selected
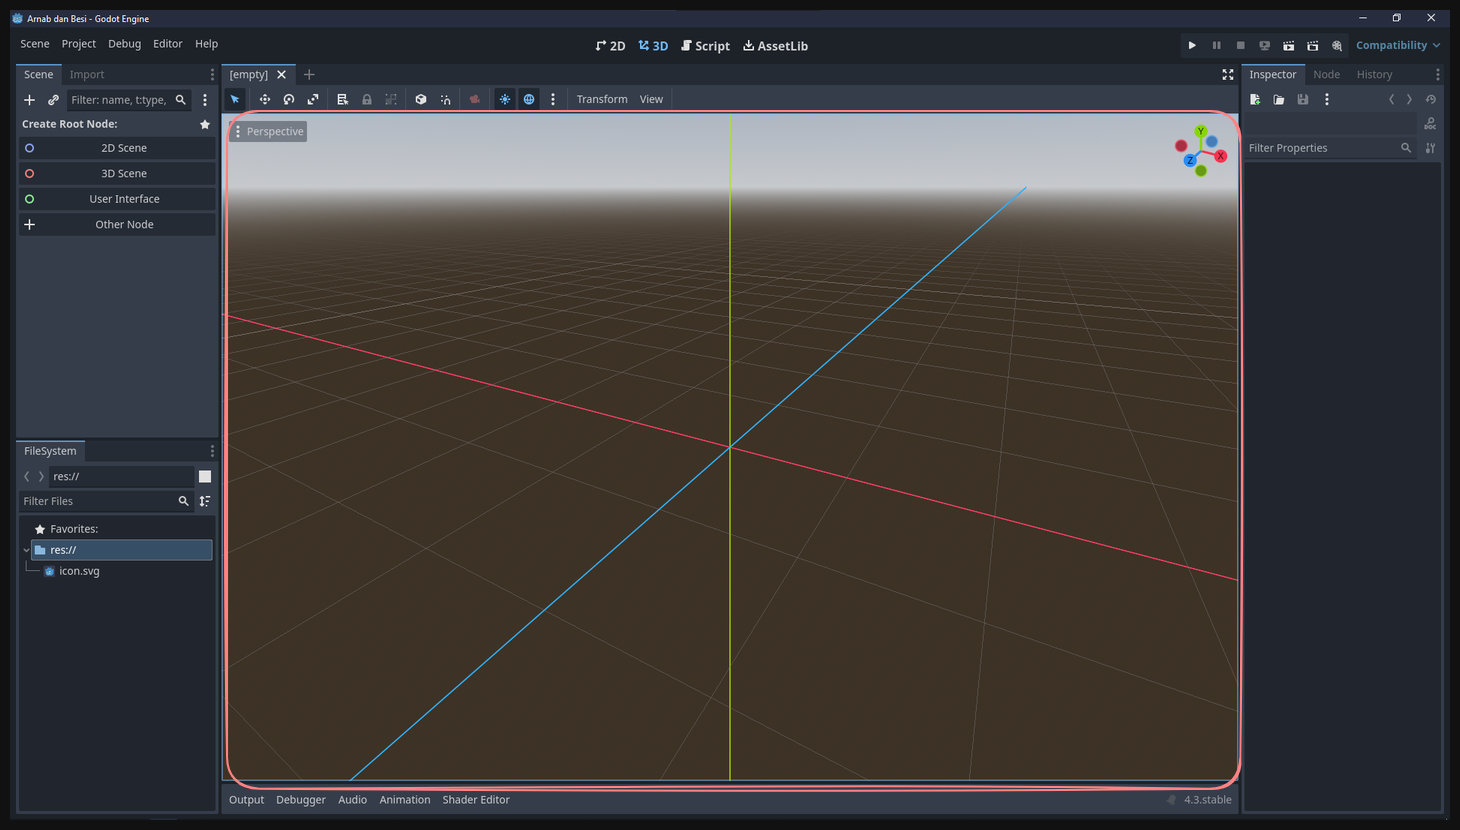
Center Area: This is your main workspace where you’ll see and edit your scene
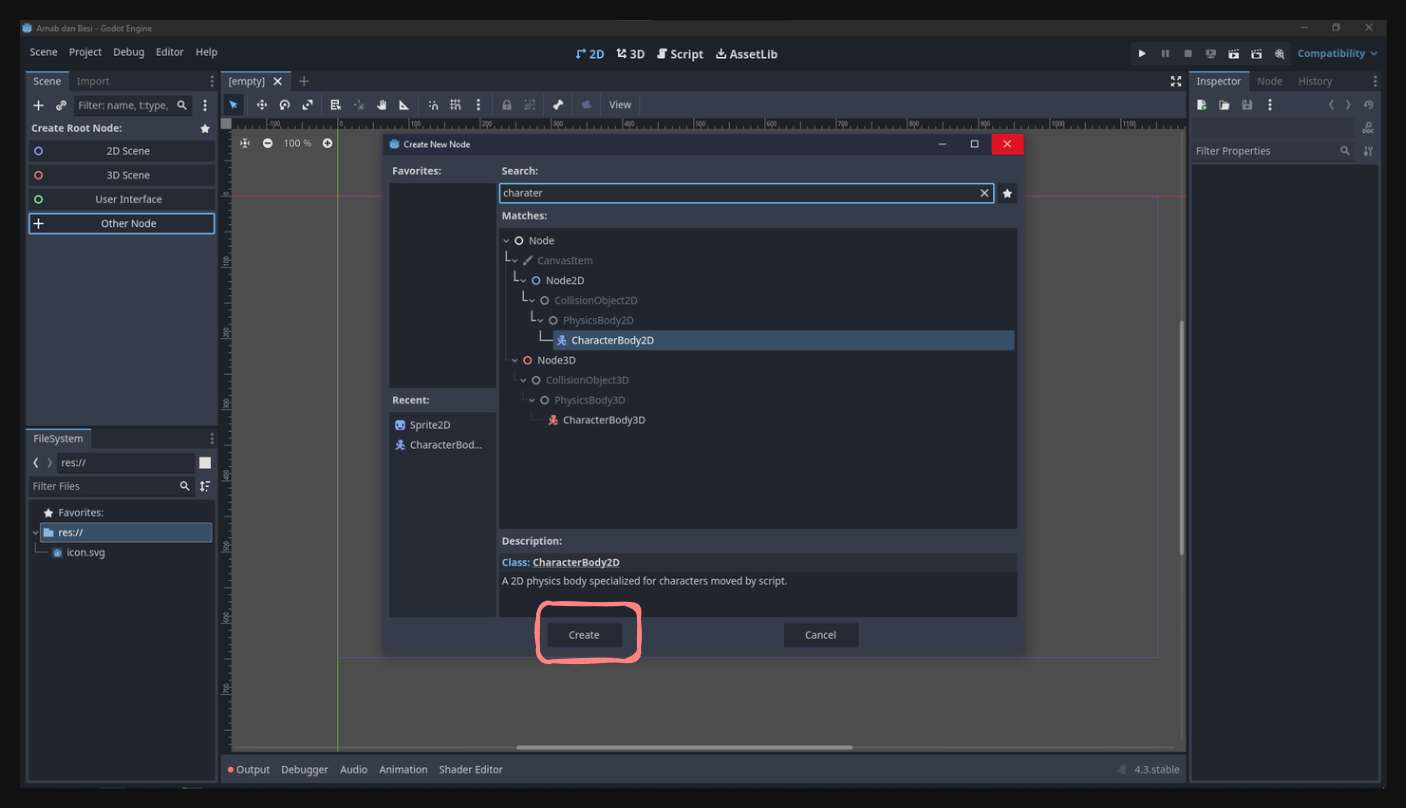
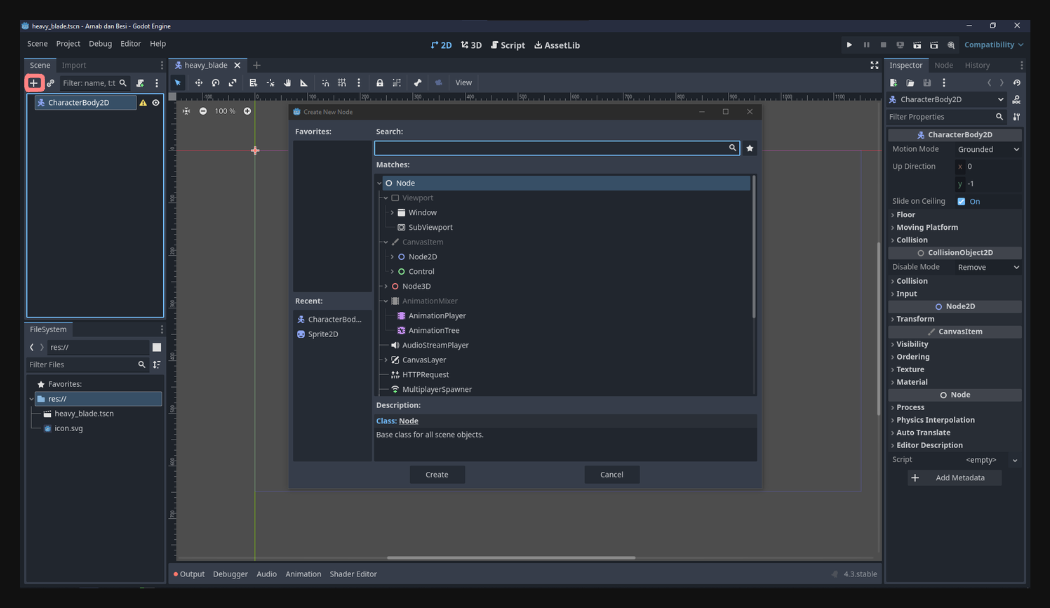
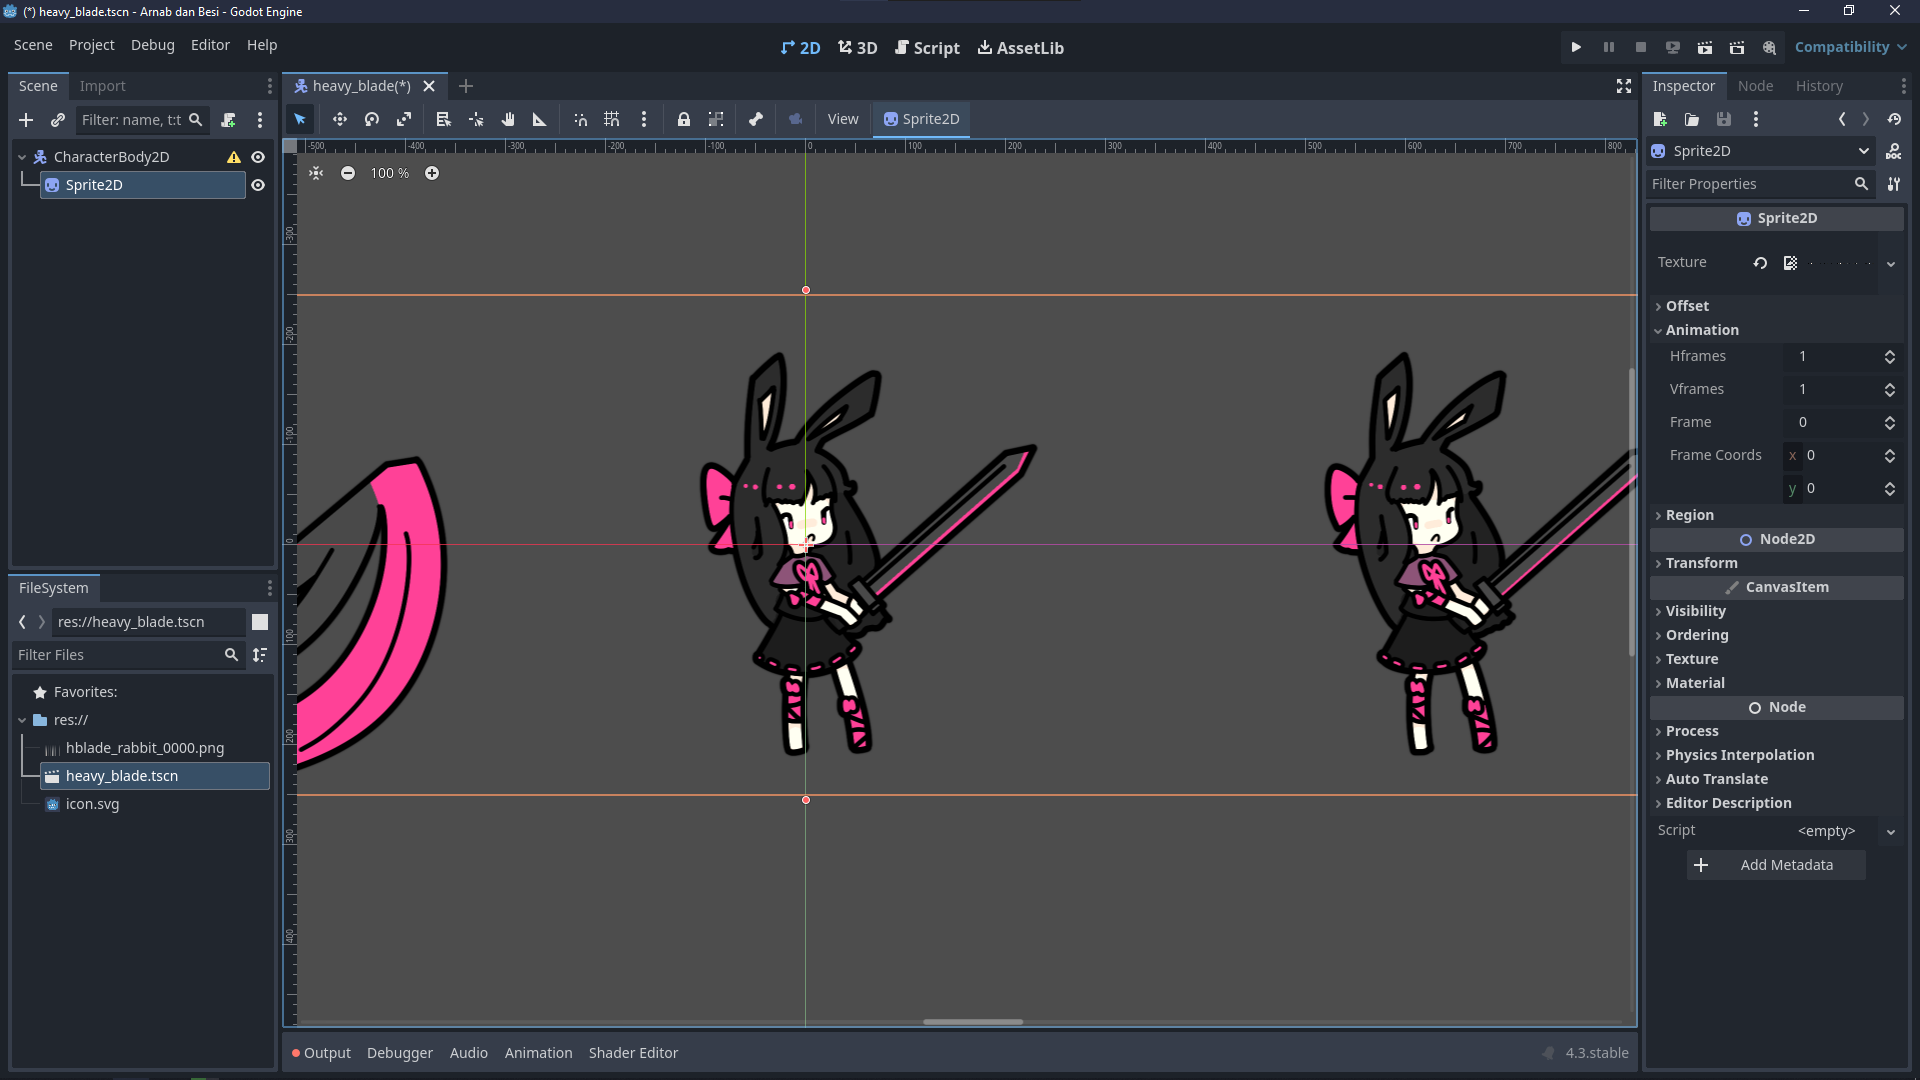
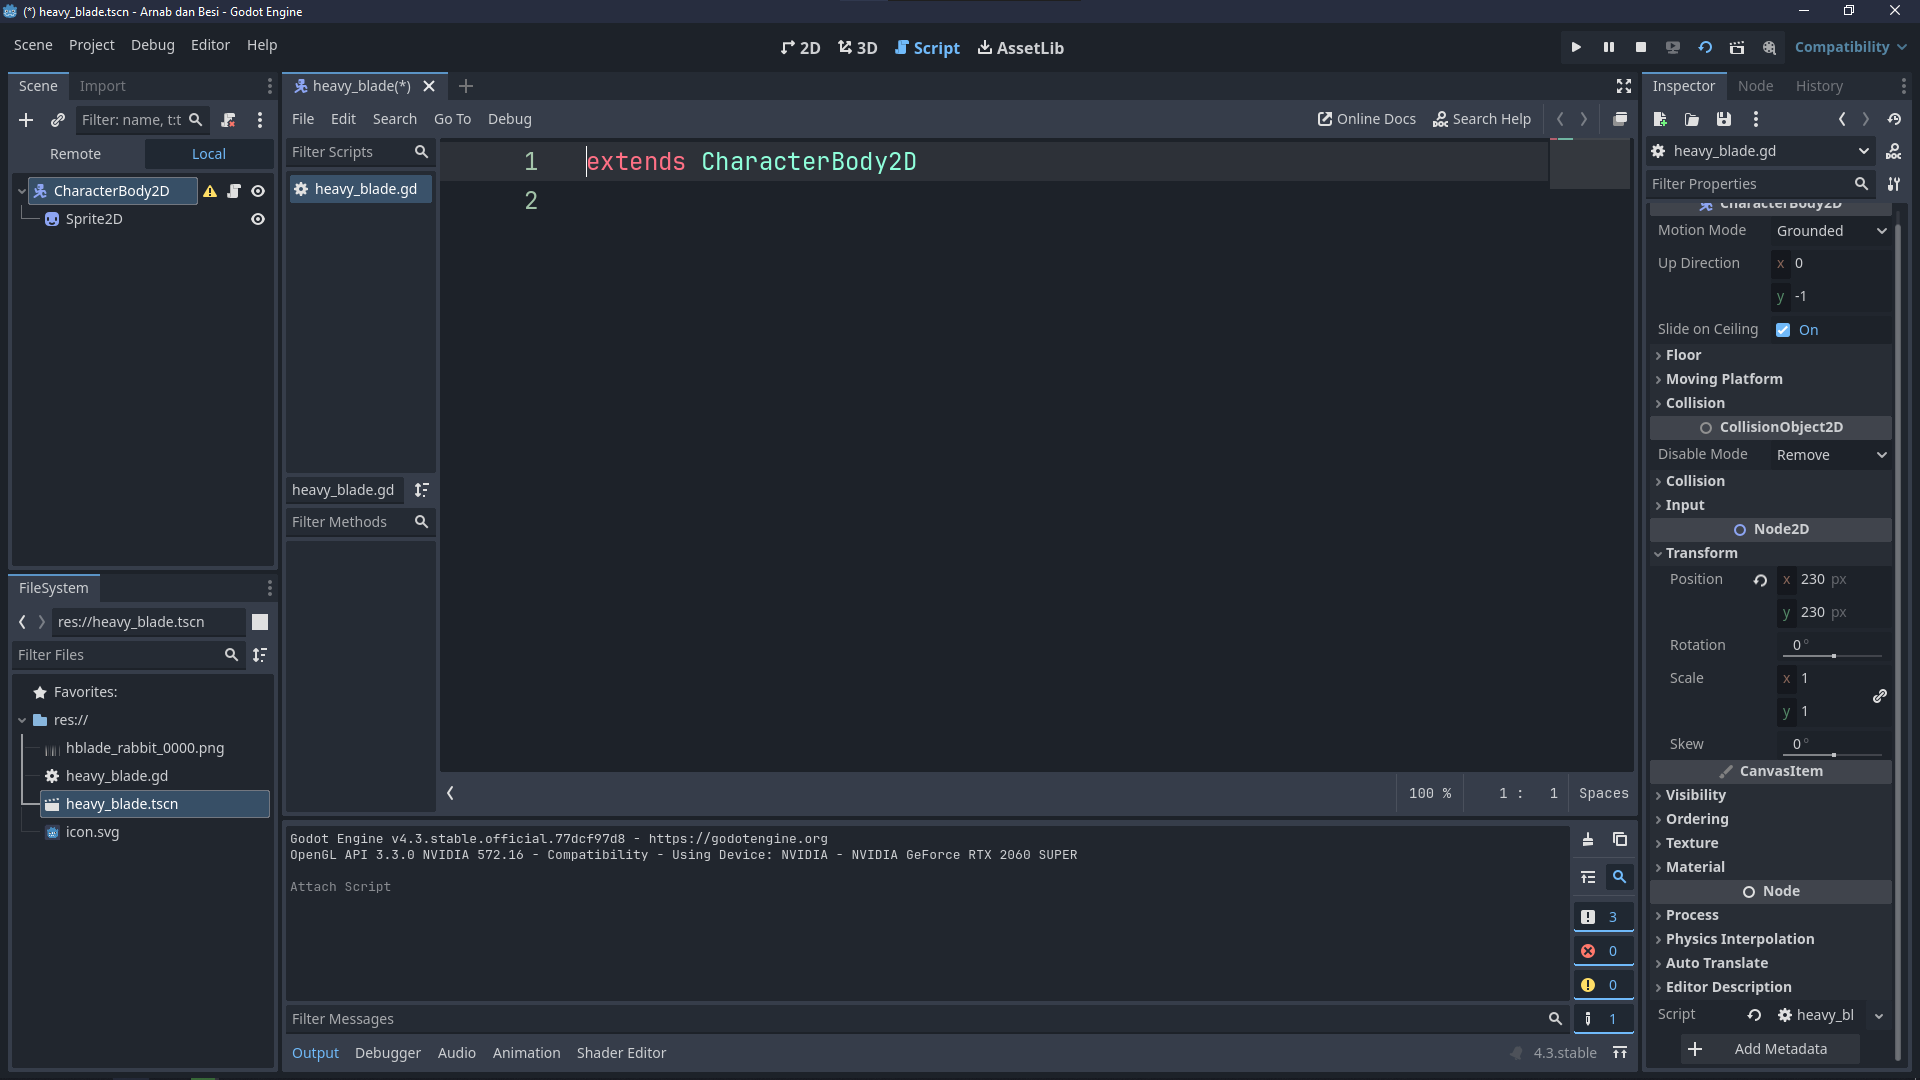
The scene uses a “CharacterBody2D” as its root node, which handles movement and physics. It contains several child nodes:
Node Type
Purpose
Sprite2D
Displays the character’s appearance
CollisionShape2D
Defines the physical shape for collision detection
AnimationPlayer
Controls character animations
Area2D
Handles the character’s attack area
AudioStreamPlayer2D
Manages sound effects
Note: In the screenshot you can see the CharacterBody2D is named HeavyBlade and Area2D is named BasicAttackHitbox. This is because we can rename the node to better describe what their purpose is because one scene can have multiples nodes of the same type.
This structure demonstrates a key principle in Godot: each node serves a specific purpose, and together they create complex behaviors. Think of it like building with LEGO blocks - each piece has its role, and combining them creates something greater.
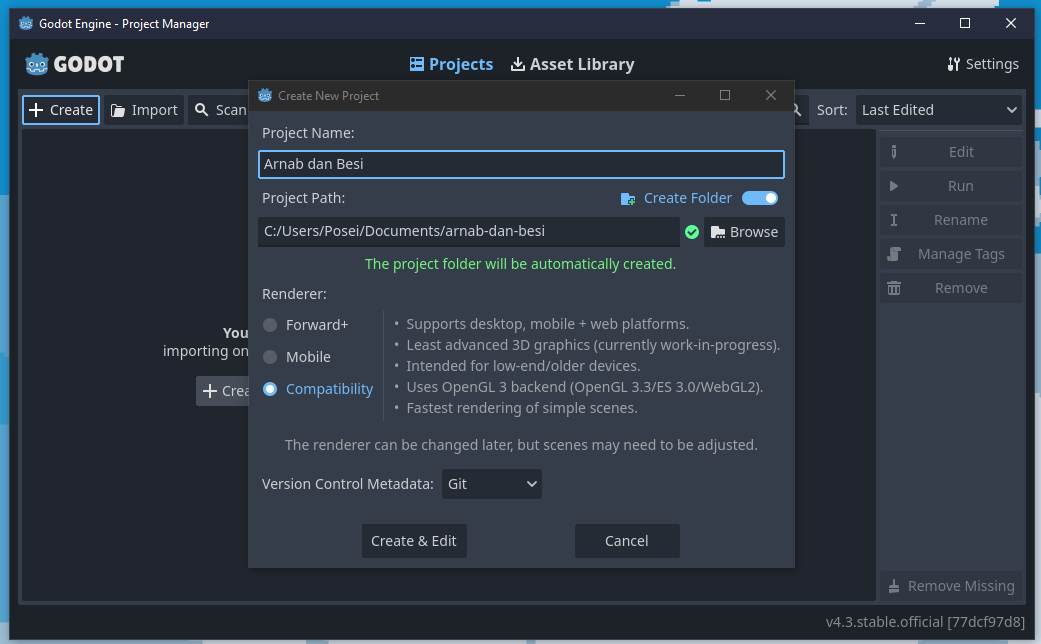
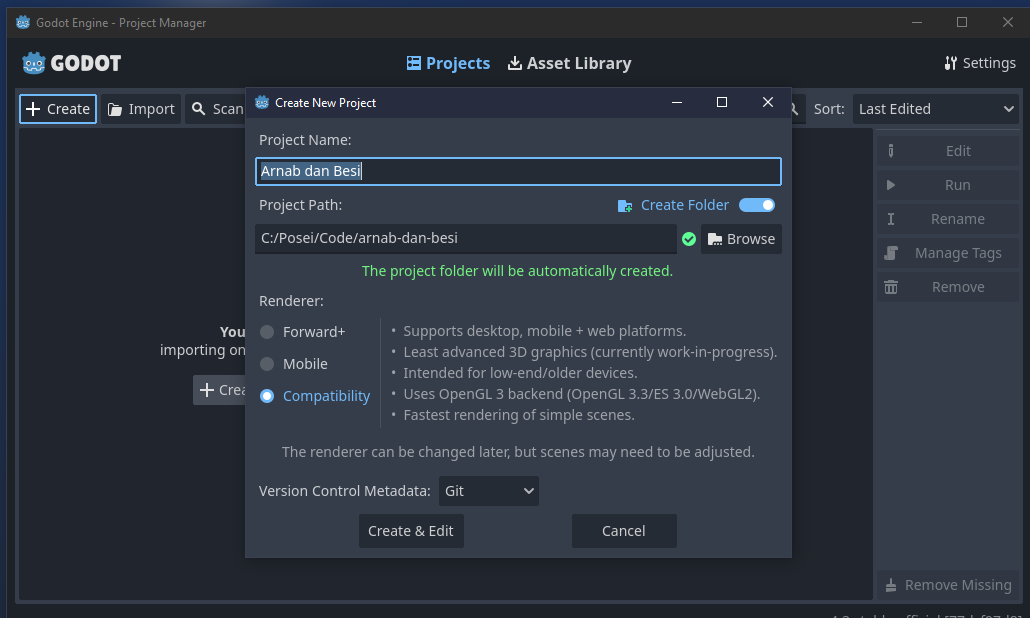
Let’s put this knowledge into practice by recreating this character scene step by step.
Either drag the image file directly into the Texture field
Or click the field and select the image file
Note: Here’s the sprite sheet we’ll be using:
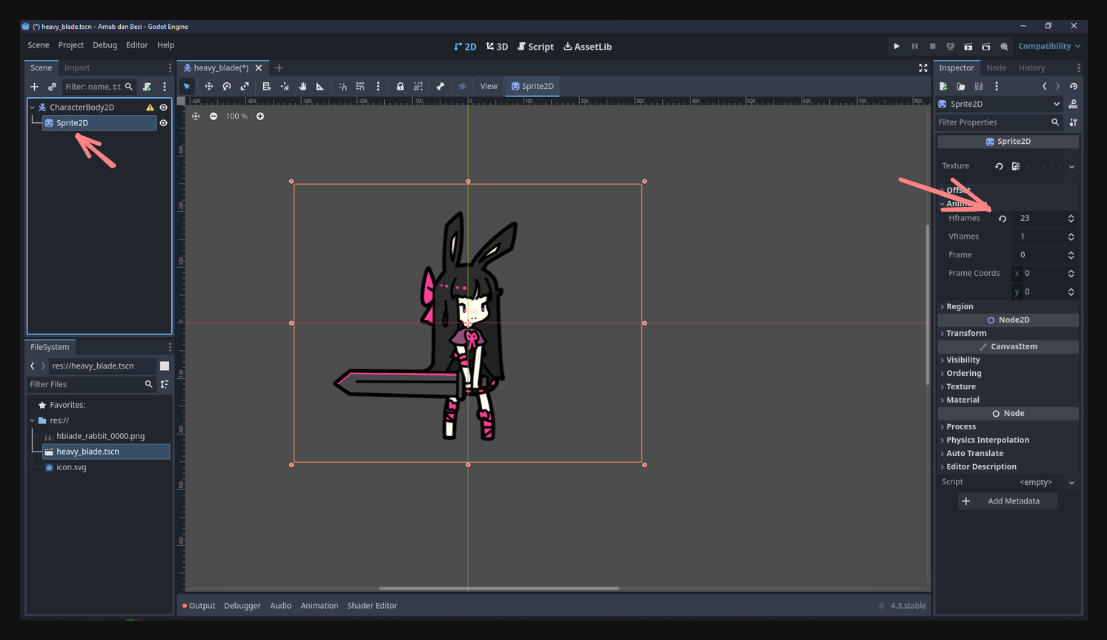
Configure the sprite sheet:
Under Animation, set “Hframes” to 23 (horizontal frames)
Set “Vframes” to 1 (vertical frames)
This splits the sprite sheet into individual frames. Our character’s sprite sheet contains 23 different poses arranged horizontally, and Godot needs to know how to divide them up.
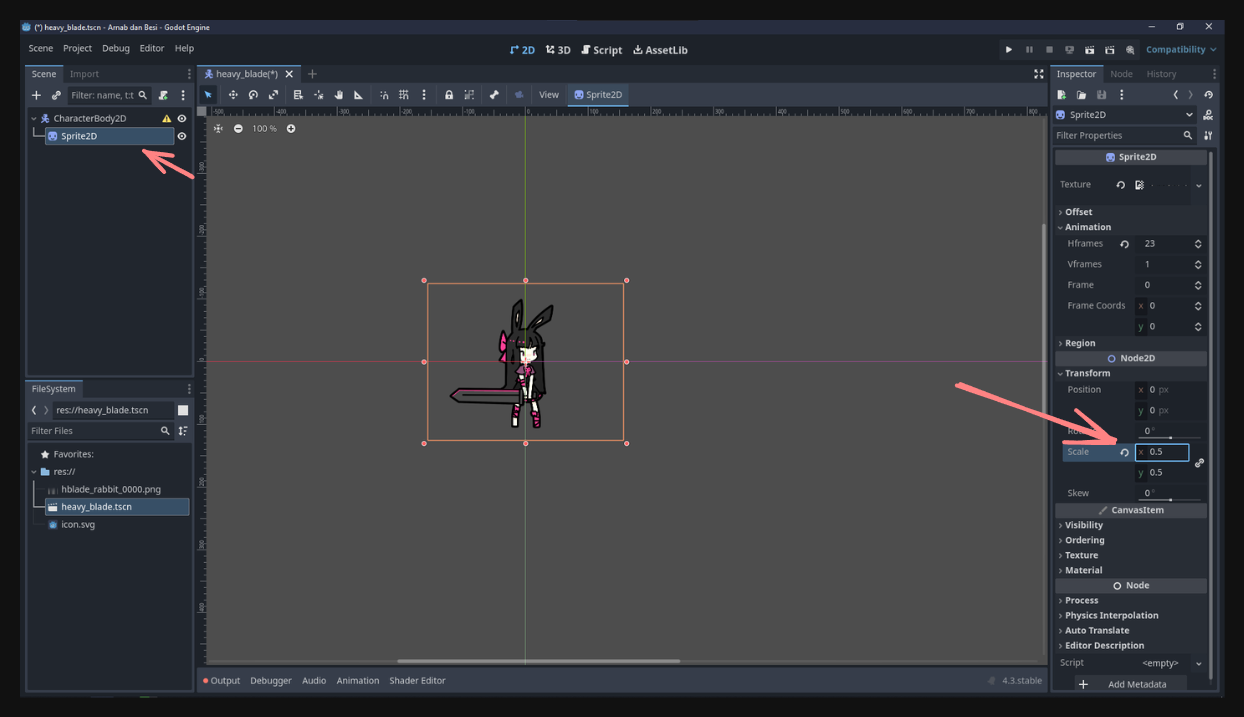
Adjust scale to 0.5
Under Transform, set “Scale” to 0.5
This is because the sprite sheet is too big to fit in the default size.
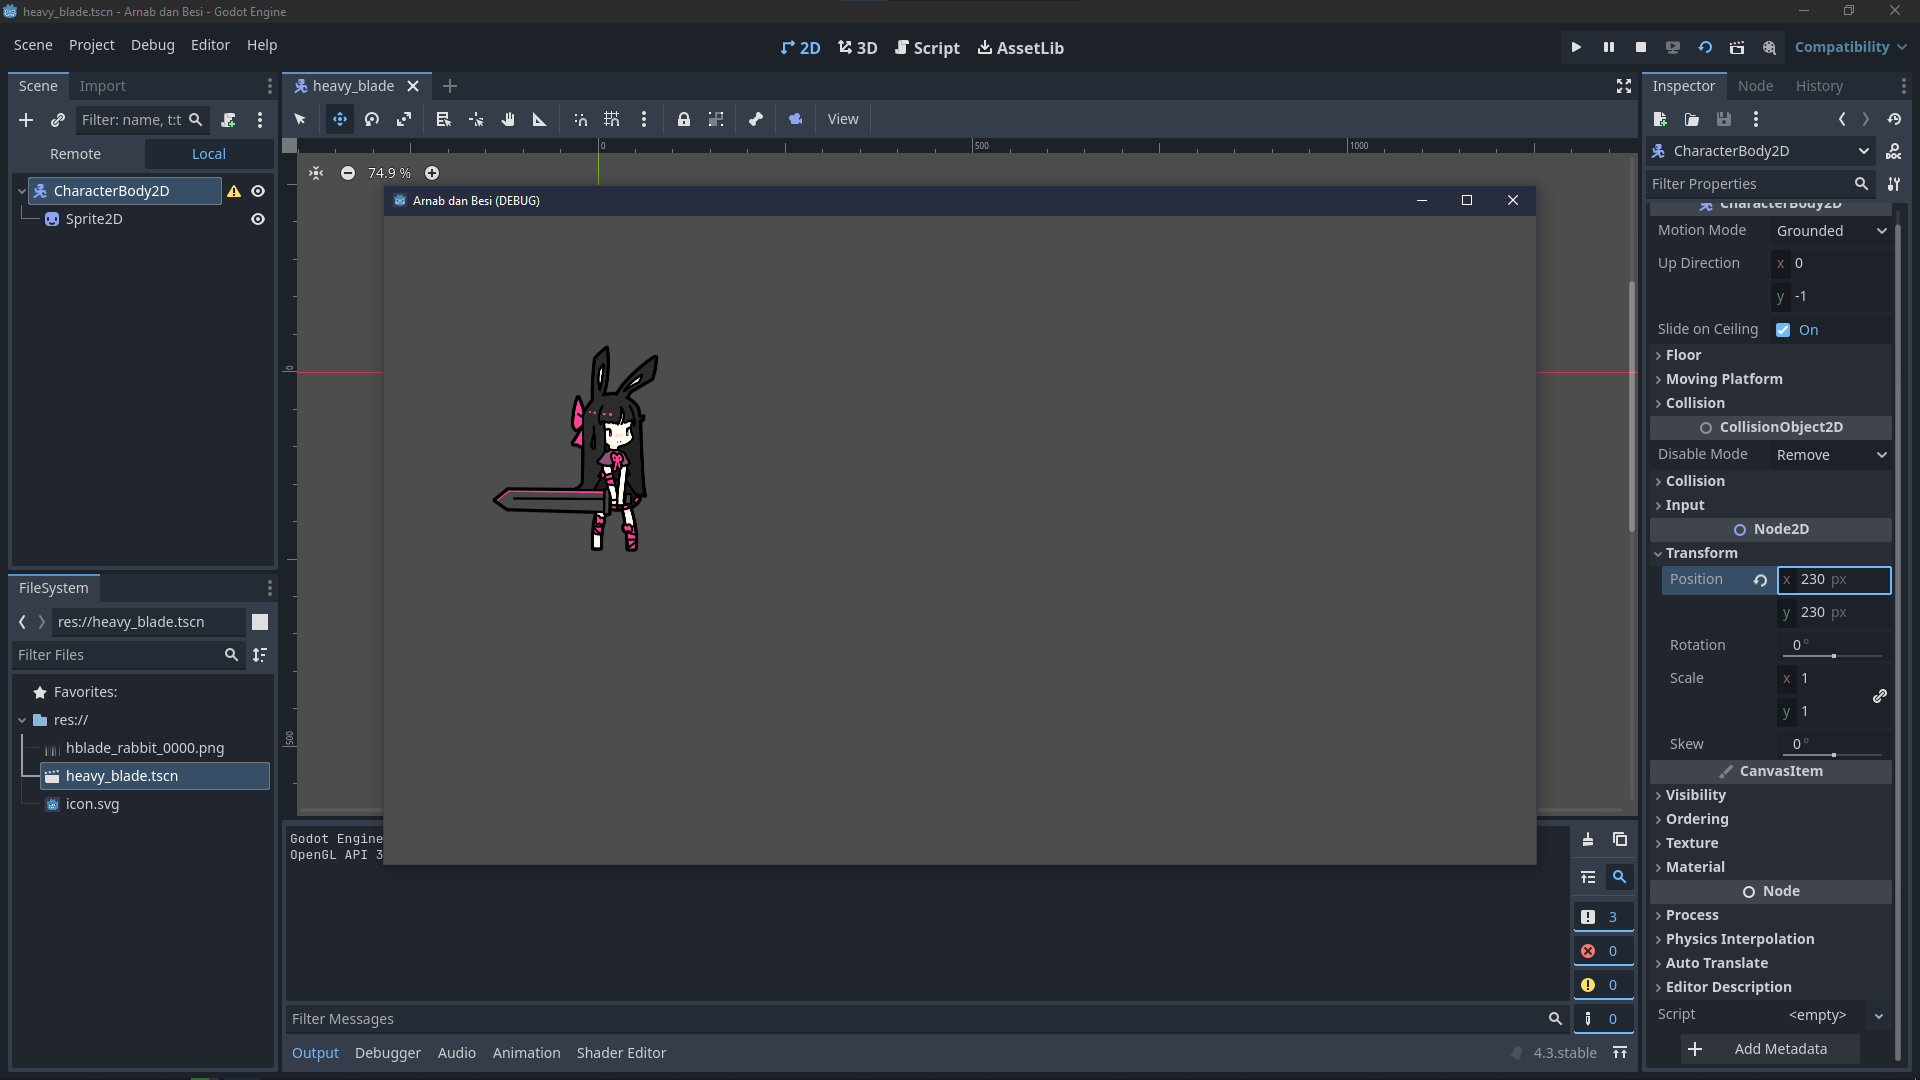
Position your character in the center of the screen by dragging the root node
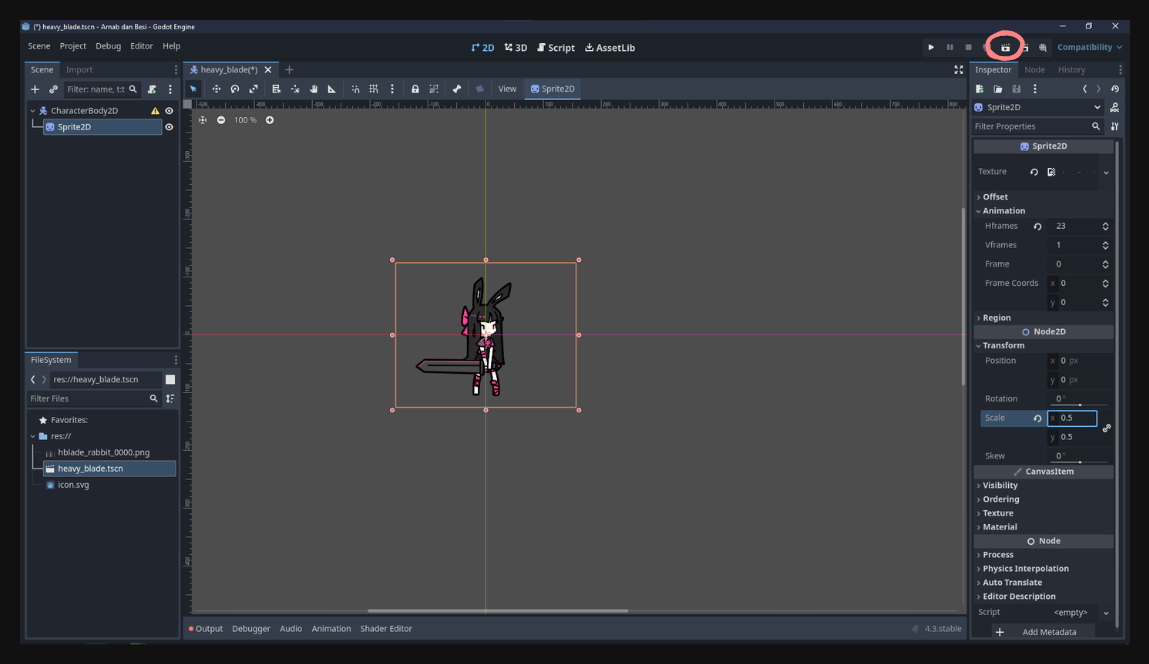
Press F6 or click the “Play Scene” button (film icon) to test
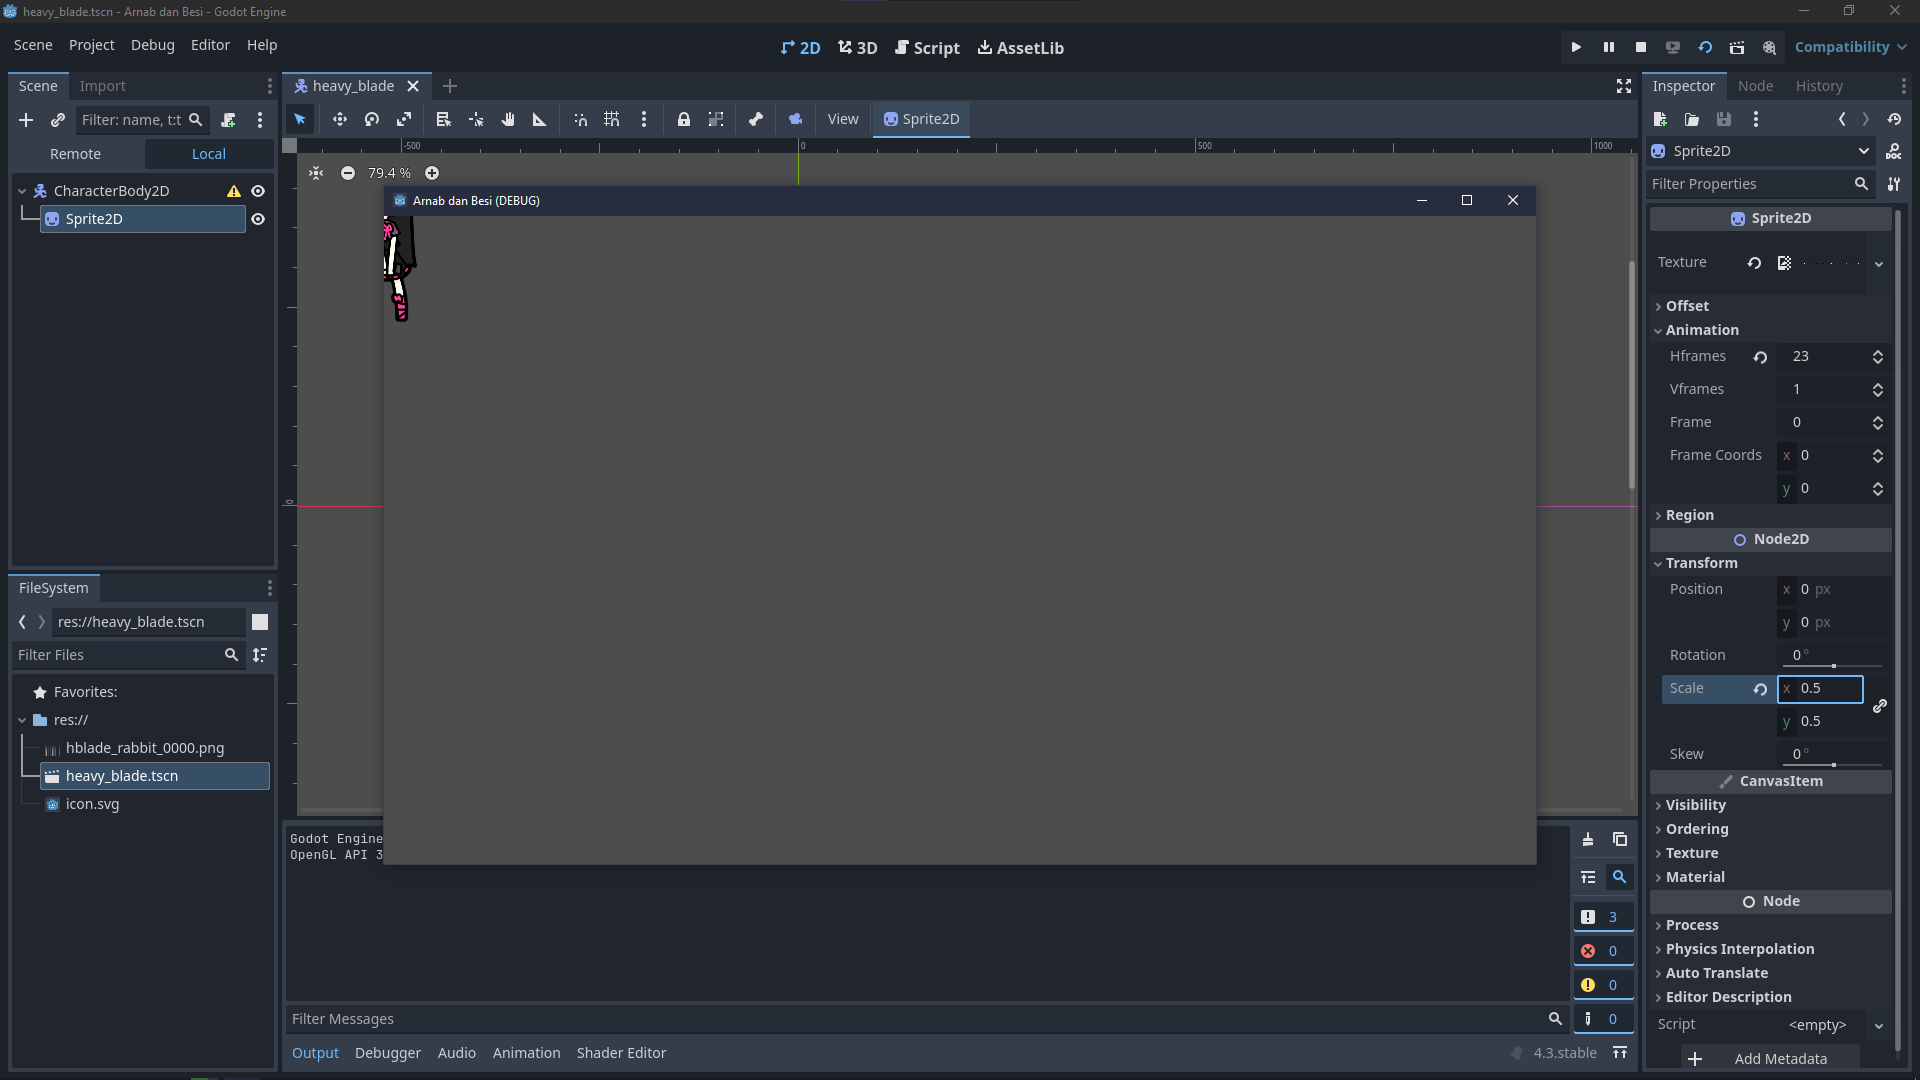
You should see your character displayed in the game window
Note: If you can’t see your character, make sure it’s positioned within the game window’s visible area, make sure you’re moving the root node not the sprite node.
Now you have a basic scene, but it’s just sitting there—static and lifeless. While you can manually adjust properties like position in the editor, how do we make things actually happen during gameplay?
The answer lies in scripts! Scripts tell nodes what to do while the game is running. For example, character movement is simply changing the position property over time based on player input.
With scripts, you can:
Modify node properties in real time during gameplay
React to player actions (keyboard/mouse input)
Program game rules and behaviors
Moving forward, I assume you have a basic understanding of programming concepts (variables, functions, flow control, etc.), so I won’t explain the fundamentals of GDScript (Godot’s scripting language). If you’re completely new to programming, I recommend learning the basics first.
If you don’t have ANY programming knowledge, I recommend you learn the basics of programming first. I’m available to help you get started—just ask in the Discord server if you need assistance.
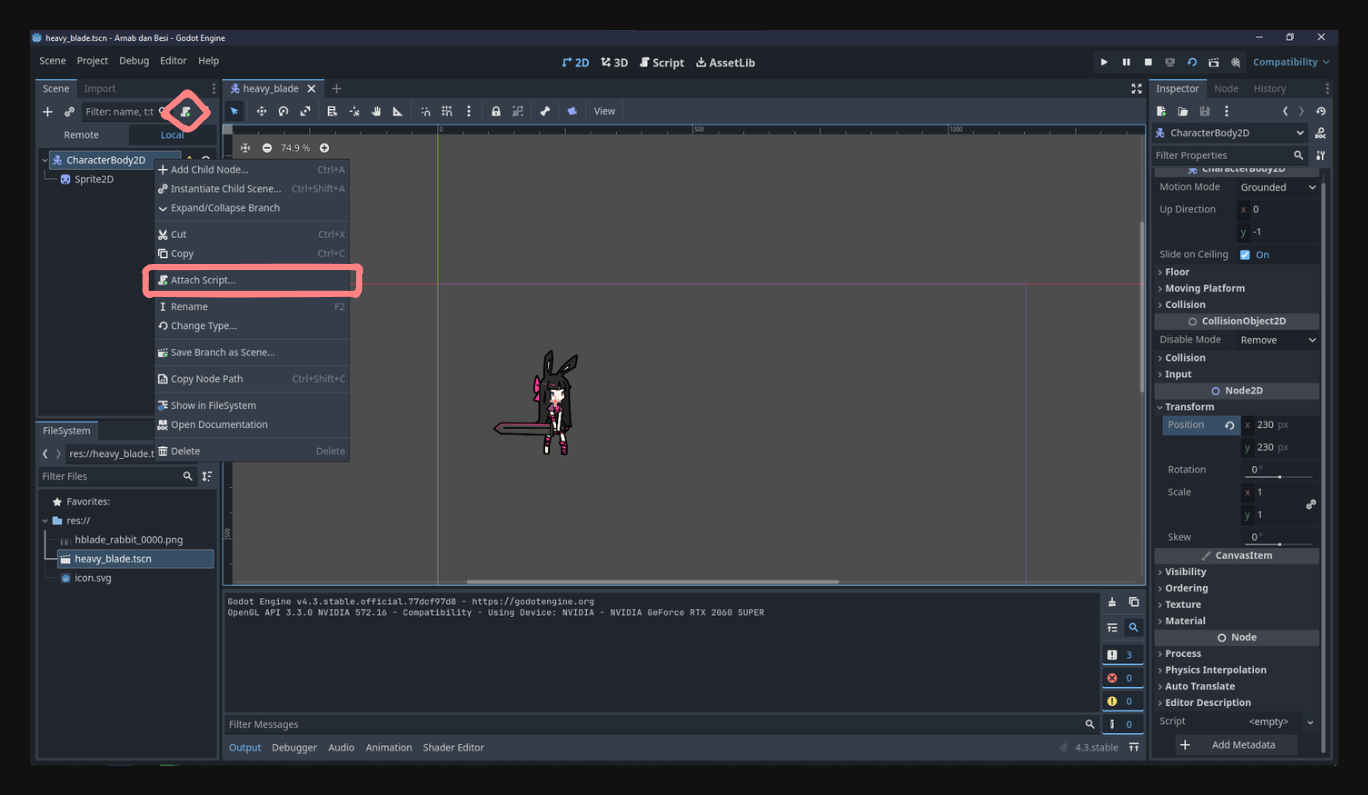
In Godot, you can attach a script to every node in a scene. Typically, however, you’ll attach the script to the root node unless you have a specific reason to attach it to a child node.
To attach a script to a node:
Right-click the node and select “Attach Script”, or
Select the node and click the + icon in the upper right corner.
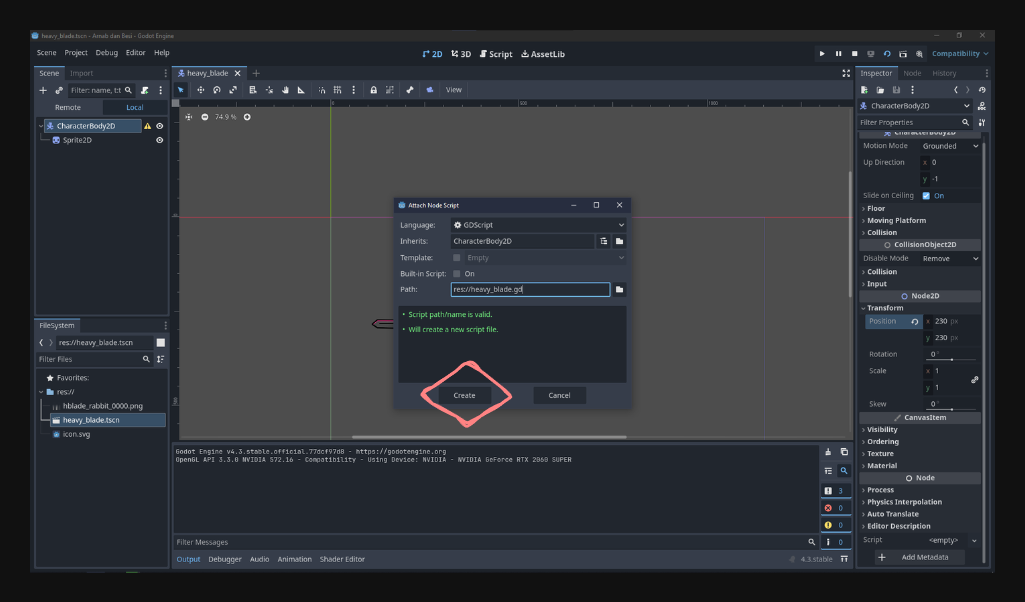
You’ll be prompted to choose the scripting language and name the script. Throughout this project, we’ll be using GDScript.
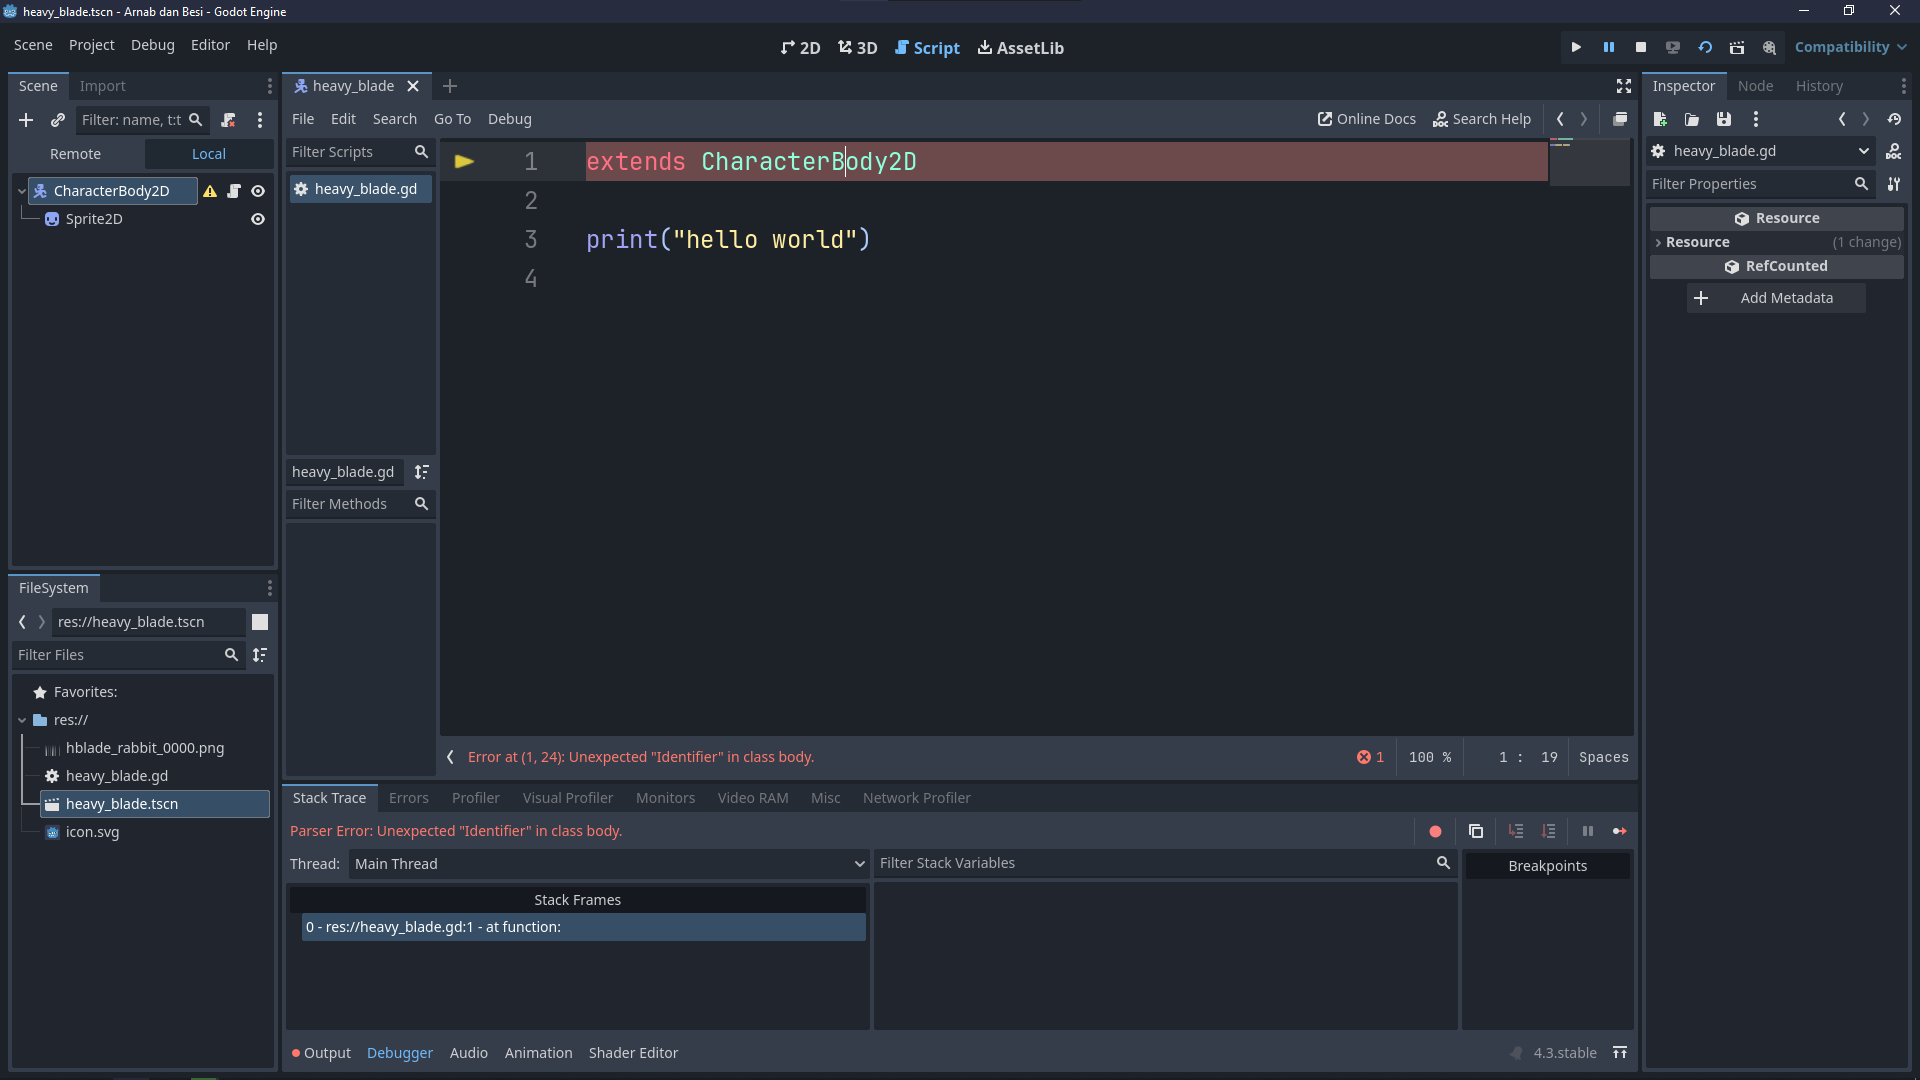
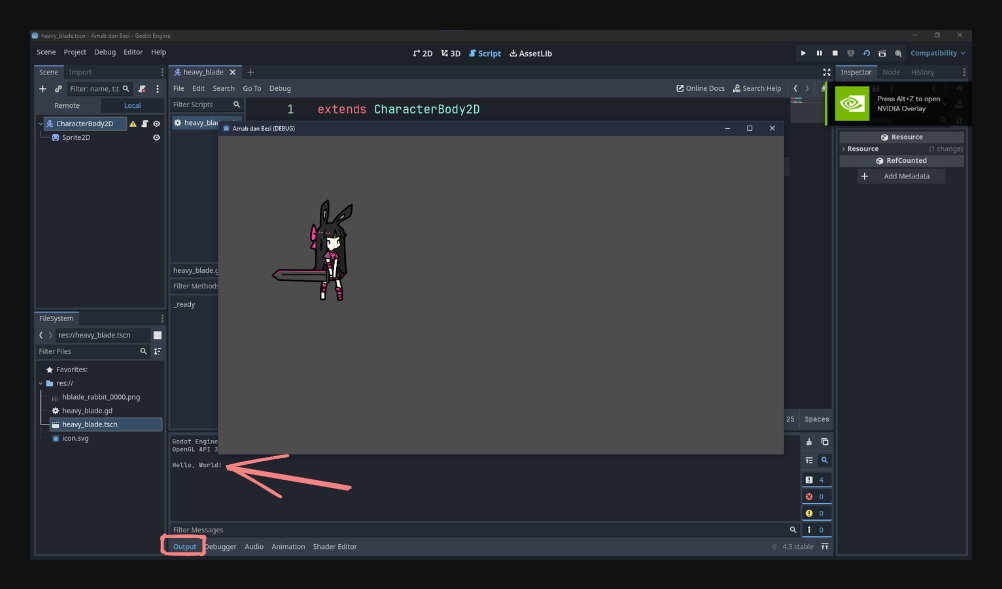
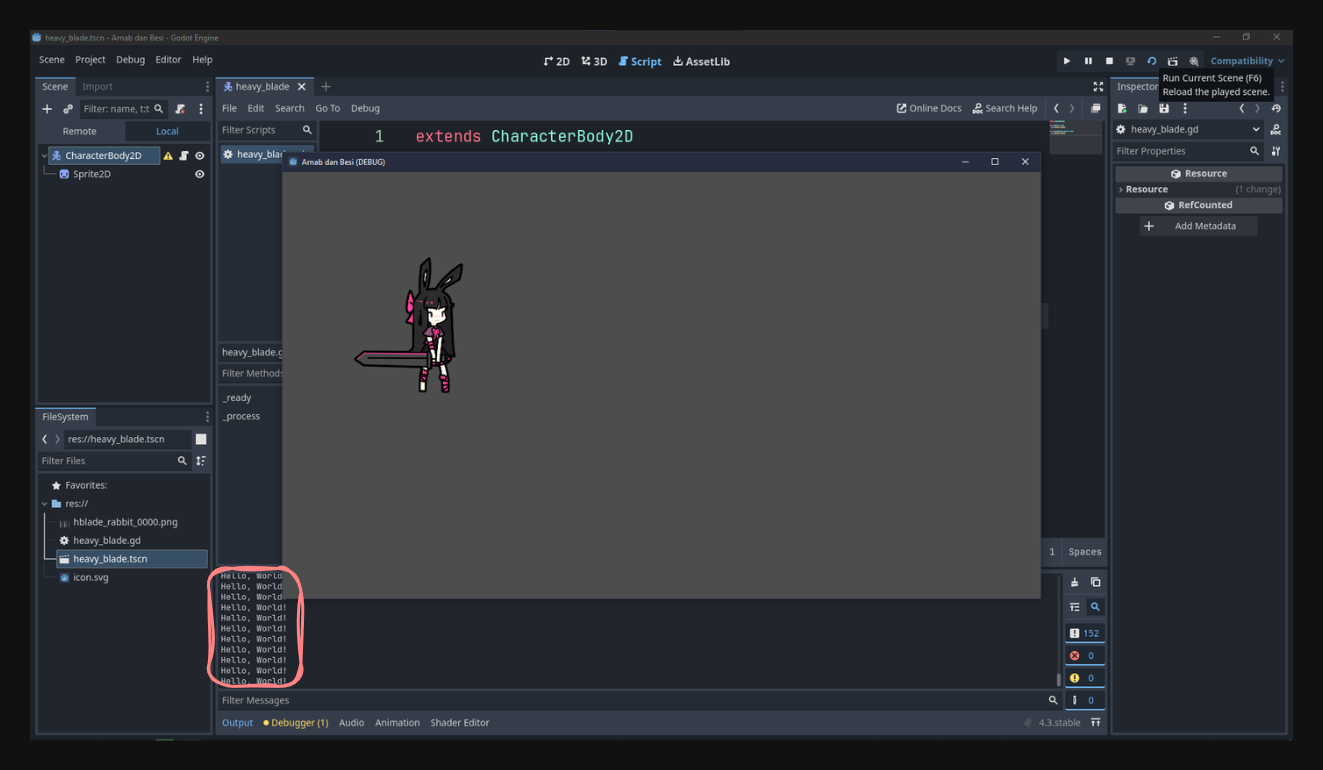
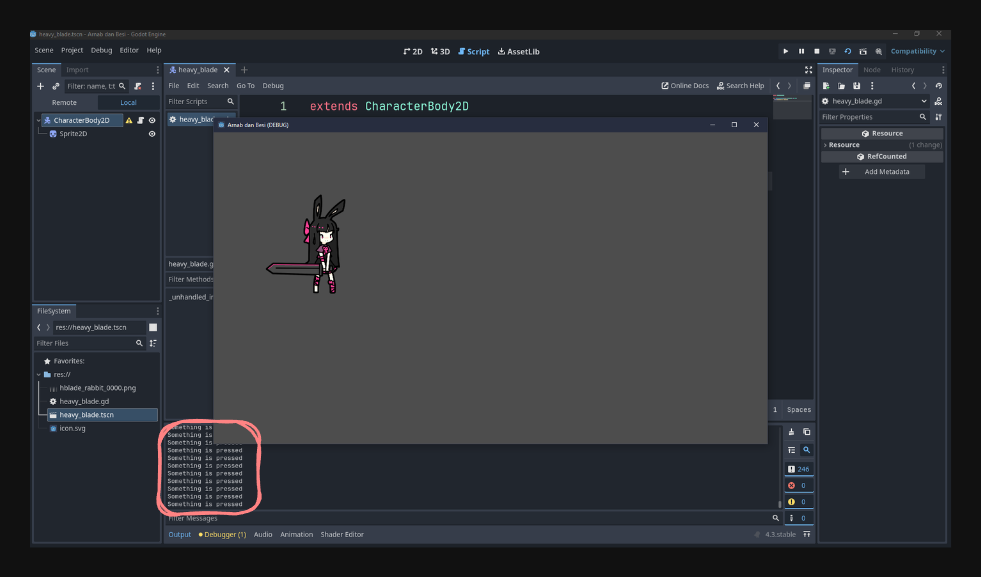
For example, name your script “heavy_blade.gd” to match the scene name. You’ll then see a script tab (replacing the scene tab) containing only:
extendsCharacterBody2D
This indicates that the script is attached to a CharacterBody2D node.
Can you just write code directly in the script tab? Yes, but if you write code immediately below the extends line without wrapping it inside a function, you’ll get an “unexpected identifier” error. This happens because all executable code must be placed inside a function. GDScript doesn’t use a main() function; instead, it relies on virtual functions.
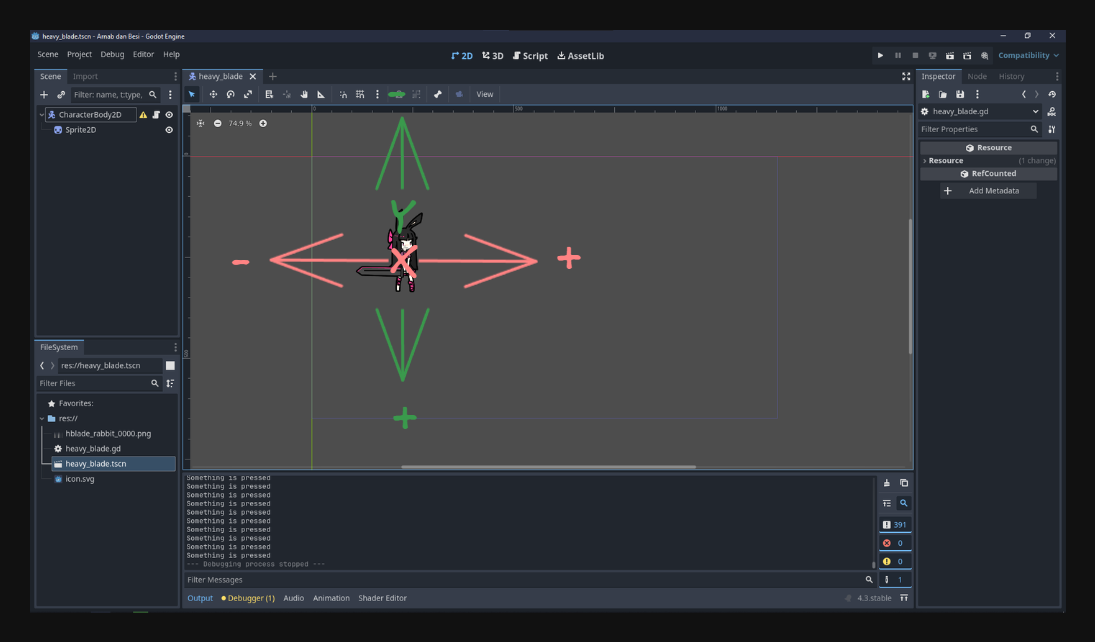
Now, when you run the scene, the character will move in the corresponding direction when you press the arrow keys.
However, you’ll notice that the character moves in a jerky manner. This is because the movement is applied when input is detected, meanwhile movement is often continuous.
And it turns out that the _unhandled_input() function is not so well suited for this kind continuous input.
Congratulations on completing your first lesson! Today, you learned how to download and set up Godot, create your first project, navigate the editor, and build a basic scene using nodes and scripts. You’ve taken an essential first step on your game development journey.
Remember, this early stage includes a bit of heavy handholding to ensure you feel comfortable with the new concepts. As you grow more confident, the guidance will gradually become less detailed, giving you more space to experiment and explore on your own. This lesson was intentionally kept short to prevent overwhelming your brain with too much information at once.
Please do take the time to practice what you’ve learned. Try to create your own scenes and scripts and experiment with the code.
Even better if you could notice the questionable parts of the code I left deliberately.
What is delta?
What is the -> void?
Is this really the best way to move the character?
How can we make it move more smoothly?
If you encounter any issues, feel free to ask in the Discord server.
Great job on taking your first step—keep up the momentum, and happy coding!